
Welcome to the EZ-Hang blog!
Here you’ll find everything there is to know about door installation, along with countless tips, tricks, and how-to-guides on everything home improvement and general construction.
For detailed instructions on how to use the EZ-Hang Door installation system, check out our resources page!

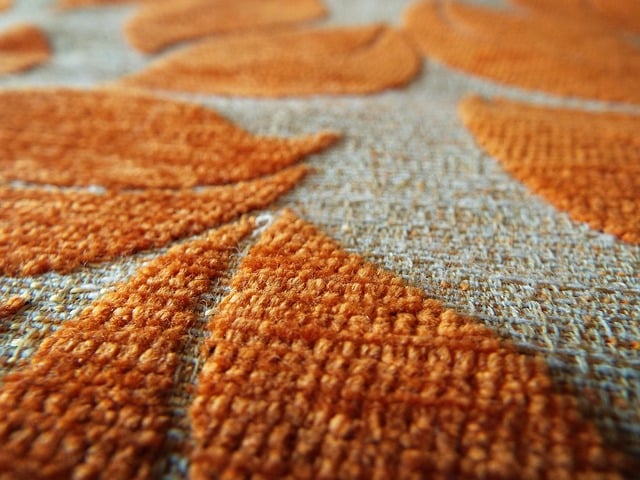
EZ How To: Remove Your Old Carpet
In this post, we walk you through you to remove your old carpet and prepare for new flooring. This is a great guide for beginners who have never removed carpet before.

How to Improve Your Backyard Space
How to Improve Your Backyard SpaceWhen we live in our homes, no matter how large it is, we always find it out of space. The bigger the size of the house, the more things we want to put in it. This is the reason that we need to make good spaces between the small areas....
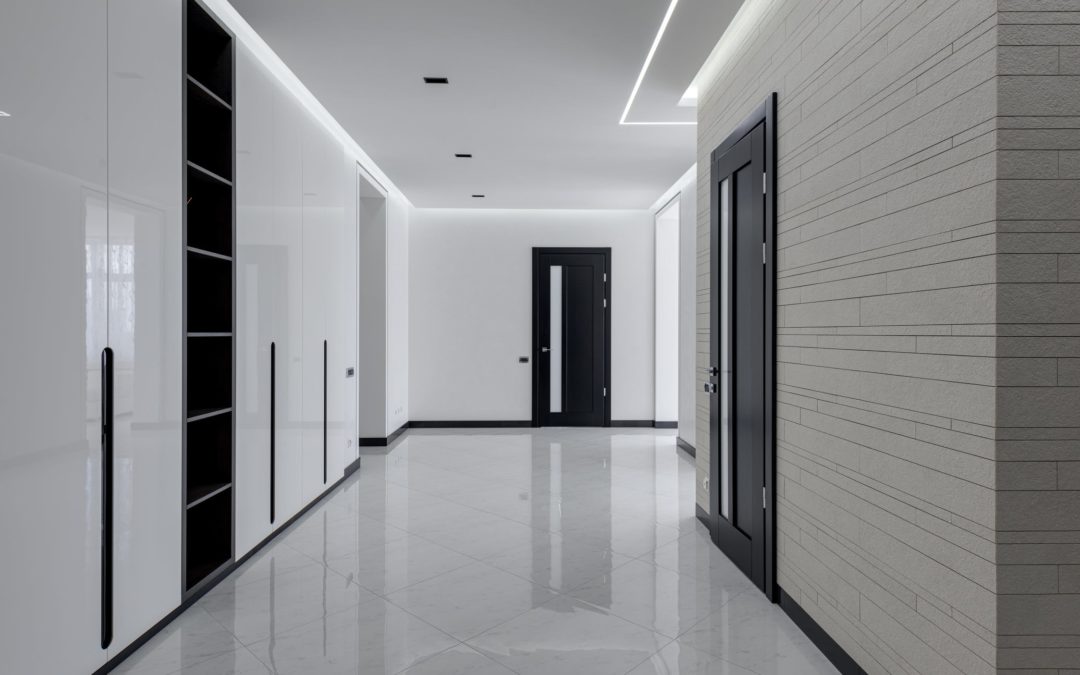
What Colors to Repaint Doors and Walls
What Colors To Use For A Door And Wall RepaintYour choice of colors for your doors and walls is very important, and there is a way it dictates your mood when you approach your house or when you are in it. When people do the repainting of their homes, they usually just...

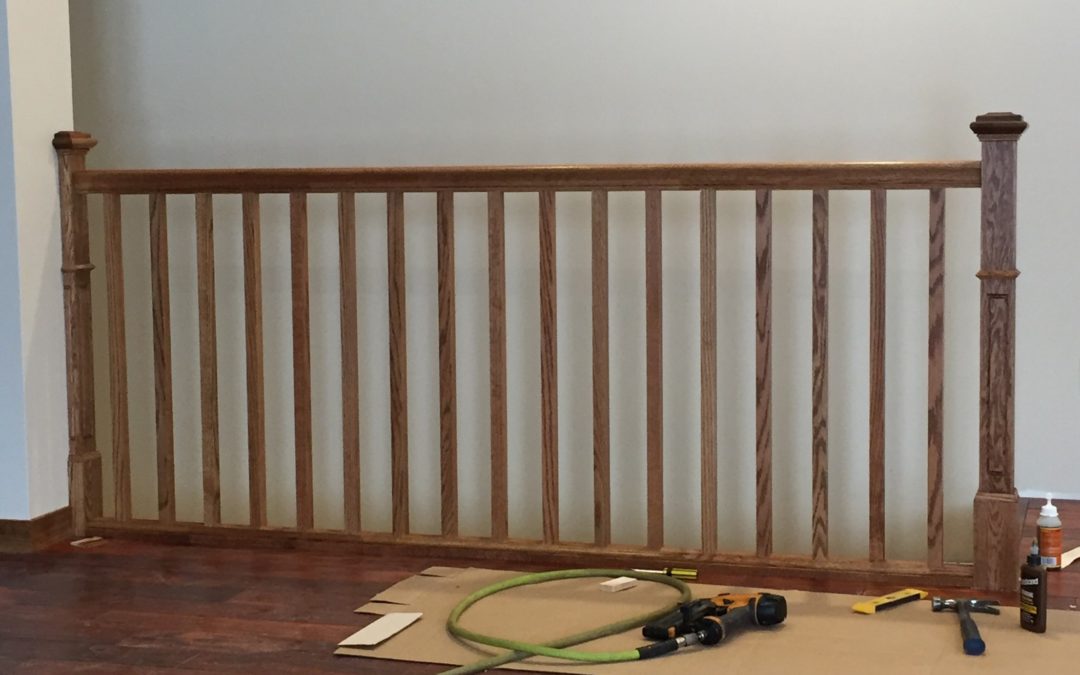
How to Install Railing Over a Stair Opening
How to Install a Railing Over a Stair OpeningOver time, the handrail on your stairs can become weak or loosened and need replacing. If your railing covers the stairwell opening, it's important that you make sure it is installed correctly for safety reasons. If the...
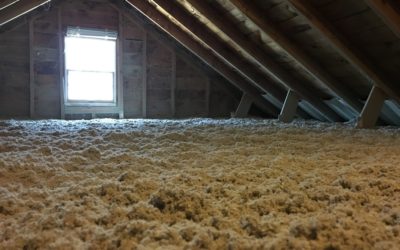
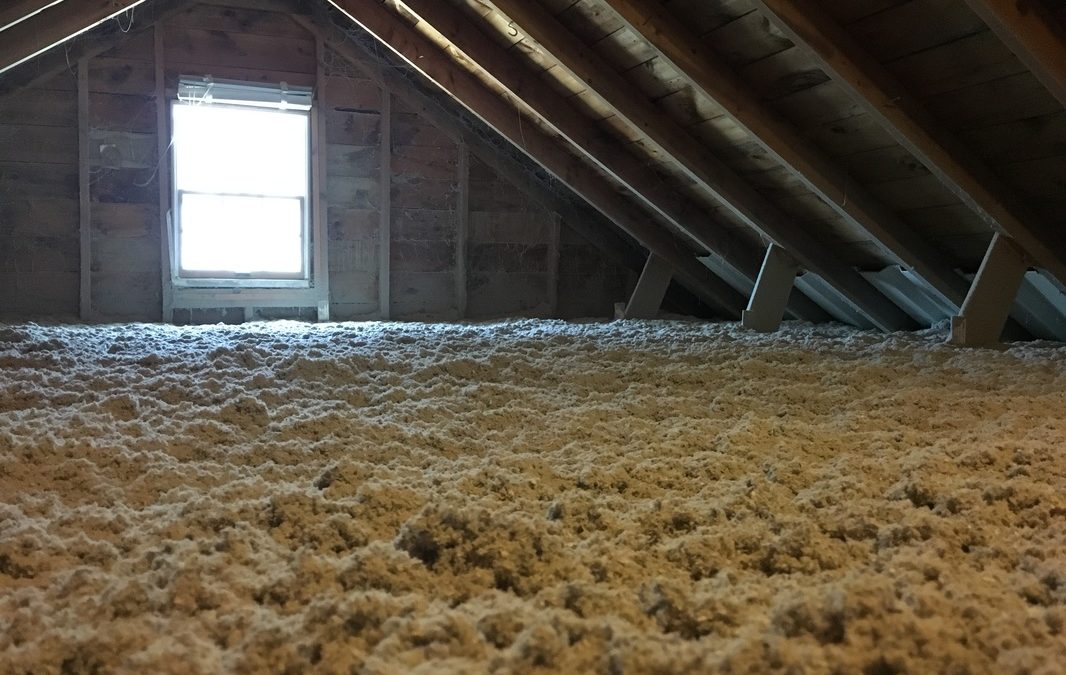
How to Insulate an Attic
How to Insulate an AtticThough it is an often overlooked part of the home, properly insulating the attic can have the biggest impact on heating costs. Learning how to insulate your attic on your own, without hiring a contractor, can help you save even more money. In...
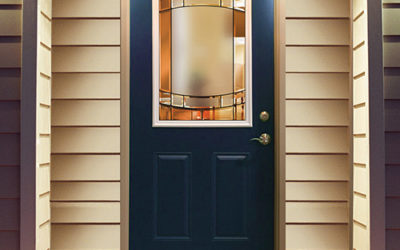
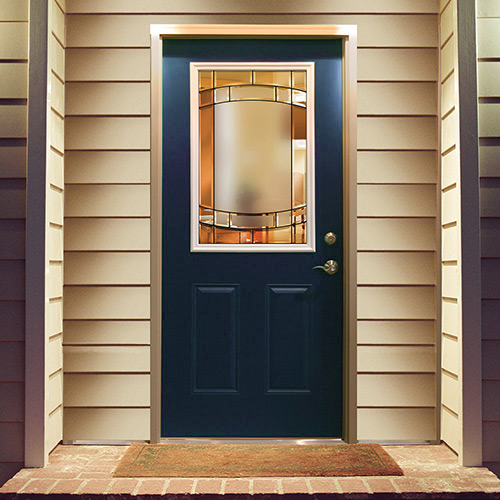
What Hardware Do I Need For an Exterior Door?
What Hardware Do I Need For an Exterior Door?Since you already know how to install an exterior door, you might be wondering what hardware you should buy. If you're purchasing an exterior door, you may have noticed that all the hardware is often not included. This can...

When to Repair or Replace a Garage Door
When to Repair or Replace a Garage DoorMuch like your home’s front door, the garage door is a major entryway into your home, so for safety purposes, it must be in good working order and secure. We’ve already showed you how to replace an entry door, so now we'd like to...

How to Install a Door Without Shims
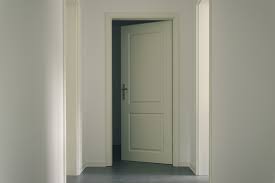
Installing a Door Without ShimsIf you've ever tried to install a door using shims, you know how difficult it can be. Even with a perfect rough opening, getting all sides the jamb to balance with shims is difficult enough. Aside from being difficult, installing a door...
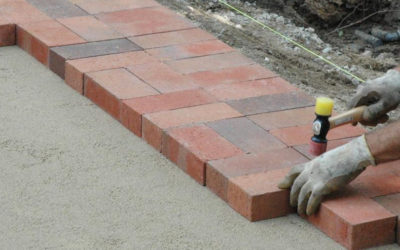
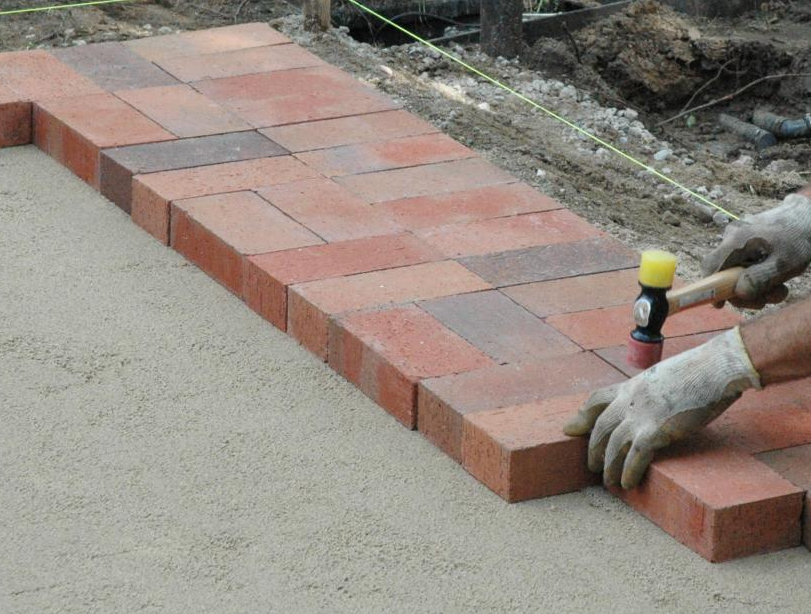
How to Lay a Brick Patio
How to Lay a Brick PatioBuilding a backyard patio out of brick pavers can be a relatively inexpensive way to increase the functionality of your yard and make it more aesthetically pleasing. This is also a project that can usually be a DIY project, depending on the...

How to Paint an Old Deck
How to Re-Stain an Old DeckWhen your deck stain begins to decay and degrade, your deck not only looks bad, but becomes less functional. An old deck with chipping paint or stain can cause wood chips to sliver off and stab your feet, and damage the wood beyond future...
Welcome to the EZ-Hang blog!
Here you’ll find everything there is to know about door installation, along with countless tips, tricks, and how-to-guides on everything home improvement and general construction.
For detailed instructions on how to use the EZ-Hang Door installation system, check out our resources page!
EZ How To: Remove Your Old Carpet
In this post, we walk you through you to remove your old carpet and prepare for new flooring. This is a great guide for beginners who have never removed carpet before.

How to Improve Your Backyard Space
How to Improve Your Backyard SpaceWhen we live in our homes, no matter how large it is, we always find it out of space. The bigger the size of the house, the more things we want to put in it. This is the reason that we need to make good spaces between the small areas....
What Colors to Repaint Doors and Walls
What Colors To Use For A Door And Wall RepaintYour choice of colors for your doors and walls is very important, and there is a way it dictates your mood when you approach your house or when you are in it. When people do the repainting of their homes, they usually just...
How to Install Railing Over a Stair Opening
How to Install a Railing Over a Stair OpeningOver time, the handrail on your stairs can become weak or loosened and need replacing. If your railing covers the stairwell opening, it's important that you make sure it is installed correctly for safety reasons. If the...
How to Insulate an Attic
How to Insulate an AtticThough it is an often overlooked part of the home, properly insulating the attic can have the biggest impact on heating costs. Learning how to insulate your attic on your own, without hiring a contractor, can help you save even more money. In...
What Hardware Do I Need For an Exterior Door?
What Hardware Do I Need For an Exterior Door?Since you already know how to install an exterior door, you might be wondering what hardware you should buy. If you're purchasing an exterior door, you may have noticed that all the hardware is often not included. This can...

When to Repair or Replace a Garage Door
When to Repair or Replace a Garage DoorMuch like your home’s front door, the garage door is a major entryway into your home, so for safety purposes, it must be in good working order and secure. We’ve already showed you how to replace an entry door, so now we'd like to...
How to Install a Door Without Shims
Installing a Door Without ShimsIf you've ever tried to install a door using shims, you know how difficult it can be. Even with a perfect rough opening, getting all sides the jamb to balance with shims is difficult enough. Aside from being difficult, installing a door...
How to Lay a Brick Patio
How to Lay a Brick PatioBuilding a backyard patio out of brick pavers can be a relatively inexpensive way to increase the functionality of your yard and make it more aesthetically pleasing. This is also a project that can usually be a DIY project, depending on the...

How to Paint an Old Deck
How to Re-Stain an Old DeckWhen your deck stain begins to decay and degrade, your deck not only looks bad, but becomes less functional. An old deck with chipping paint or stain can cause wood chips to sliver off and stab your feet, and damage the wood beyond future...
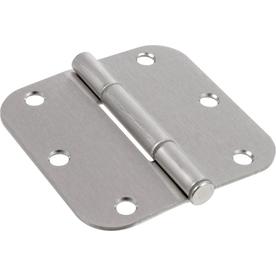
How to Fix a Squeaky Door
How to Fix a Squeaky DoorNo matter what type of door you buy, there's one issue that seems unavoidable - the hinges starting to squeak overtime. It seems unavoidable because eventually, it is. The constant opening and closing of the door will eventually wear down the...
Common Door Installation Problems and Fixes
Door Installation Problems: The Ultimate Guide Encountering door installation problems can leave you feeling helpless if you don't know where the solution begins. Luckily, most door installation problems are quite a common occurrence, and can be fixed fairly quickly...
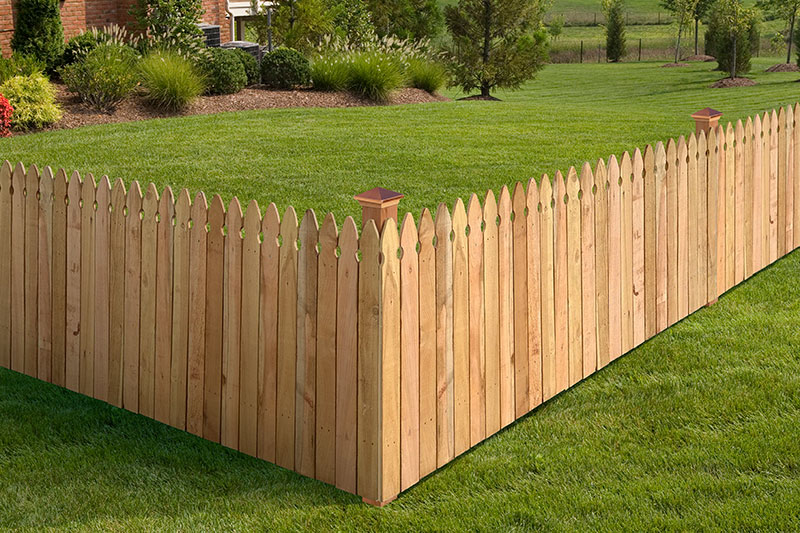
How to Build a Wooden Fence
Building a wooden fence can be a great way to make your backyard more desirable, give you some much-needed privacy, and even increase your home's curb appeal. By opting to install a fence yourself you can save money and customize the fence to your liking. What you'll...

Preparing Your Home For Spring
It’s that time of year again. We can finally begin to put away the hat and gloves, and start to enjoy being outside. If you’re a homeowner, or even renter, it’s important not to get too caught up in enjoying the weather before taking the necessary steps to prepare your home for spring, and enable a smooth transition into the coming seasons.
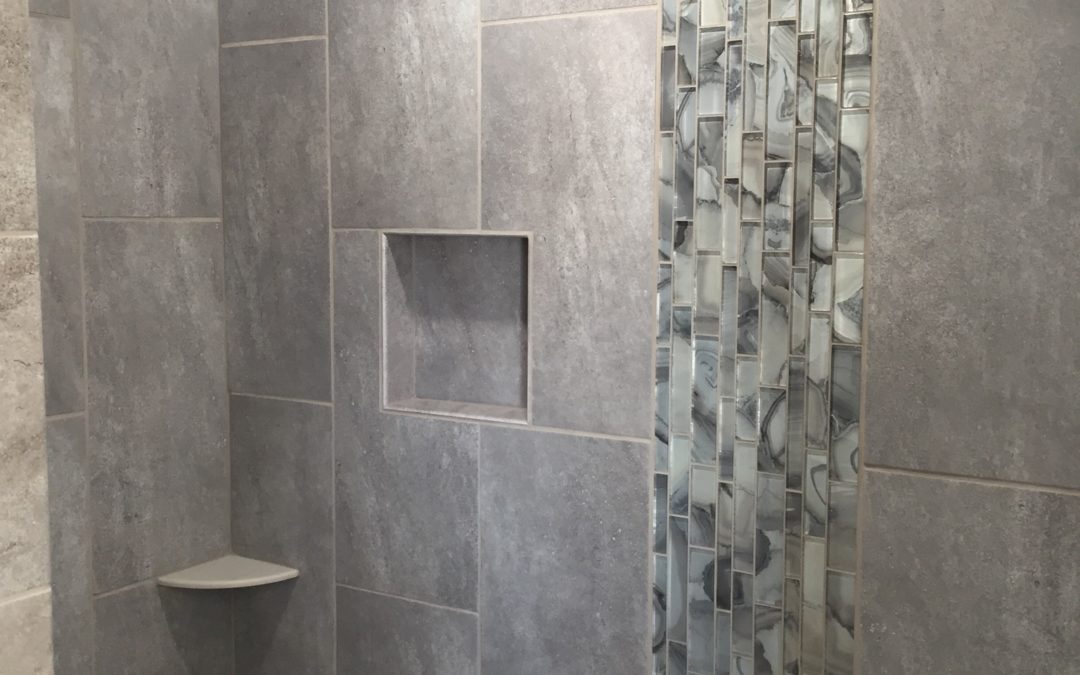
How to Tile a Shower
How to Correctly Tile a ShowerA newly tiled shower can be just the thing to easily give life to an old or outdated bathroom. Not only can it improve the looks of your bathroom, re-tiling, or installing a newly tiled shower can ensure your shower will be performing...
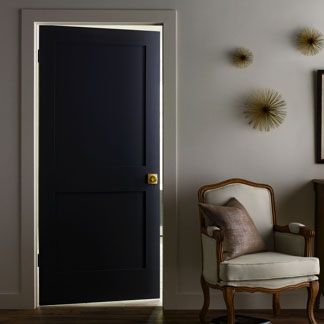
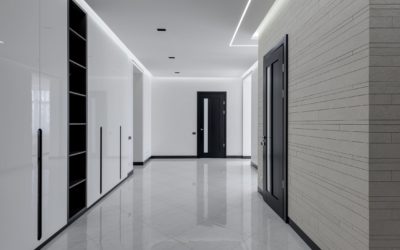
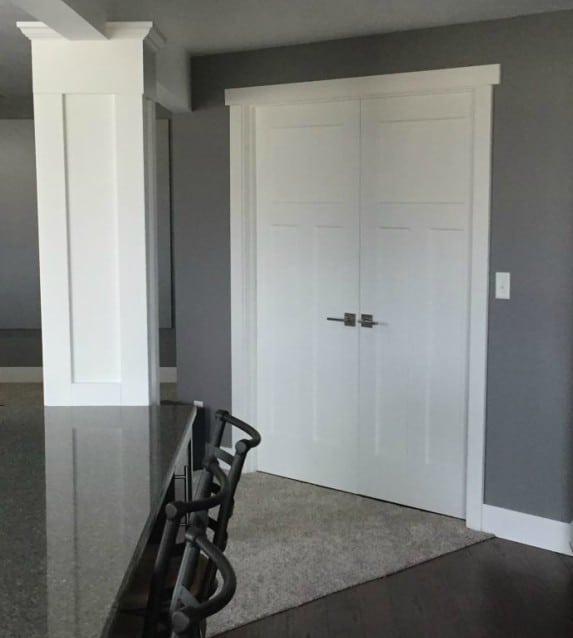
How to Paint an Interior Door
Repainting your interior doors is a simple yet effective way to upgrade the look of your home. Having freshly painted, clean looking doors is also a way to immediately increase the perceived value of your home. One current trend is to paint interior doors a darker...
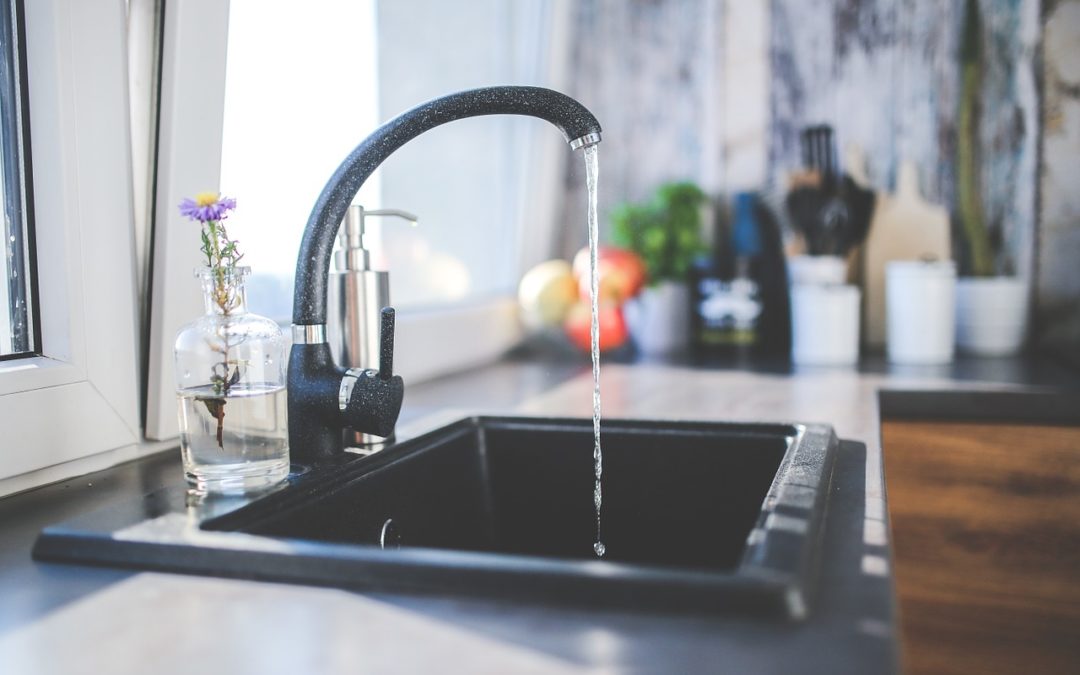
How to Replace a Kitchen Sink
Replacing a kitchen sink can be a simple way to update your kitchen both aesthetically and functionally. In this guide, we'll cover the steps you need to both remove your old kitchen sink and install a new one. Replacing a sink isn't a difficult task, but it's...

Tape Measure Tips and Tricks to Make Your Life Easier
A tape measure is perhaps among the most useful tools that a person could own. Whether you're a builder, DIY'er, homeowner, or a renter, there will most likely come a time when you need to use a tape measure. Aside from being one of the most commonly necessary tools,...
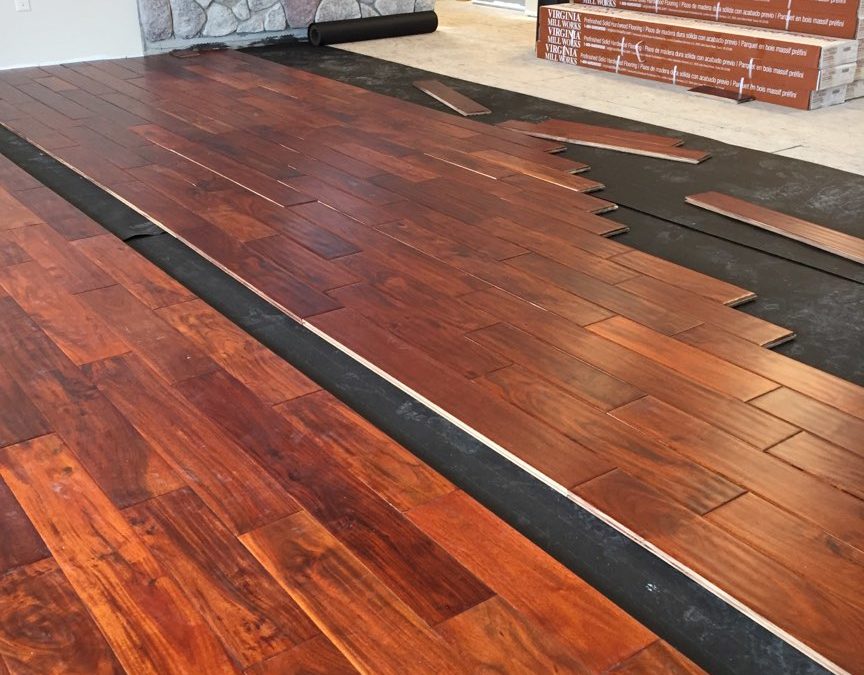
How to Install Hardwood Flooring
Installing hardwood flooring can add value and style to any room in your home, and remains one of the most sought-after types of flooring in new homes. Hardwood flooring is typically used for kitchens, living rooms, or offices, but you can add it to any room that you...

How to Fix a Hole in the Wall
Photo credit: build.com Did your doorstop fail to do its job and now you're left with an imprint of a handle in your wall? Maybe your kids decided to test how strong the walls are? Or maybe you weren't paying attention while moving heavy desk or dresser. In any case,...
